Introduction
Alpine Linux is a Linux distribution designed for security, simplicity and resource efficiency. It is also small (around 4MB w/o GUI) and is designed to run directly from RAM. Alpine Linux is a good choice for creating Docker containers or to deploy applications in the cloud. Alpine Linux does not have an official desktop, but you can add an optional desktop.
This document provides instructions on how to create an Alpine Linux virtual machine on VirtualBox, which is an open-source virtualization software. I am assuming that you have VirtualBox installed in your computer and you are familiar with its functions.
VM Installation
Download the .iso file
Download the Virtual image alpine-virt-3.15.4-x86_64.iso. There are also other options.
Create a new VM on VirtualBox.
For this exercise most options will be left to default:
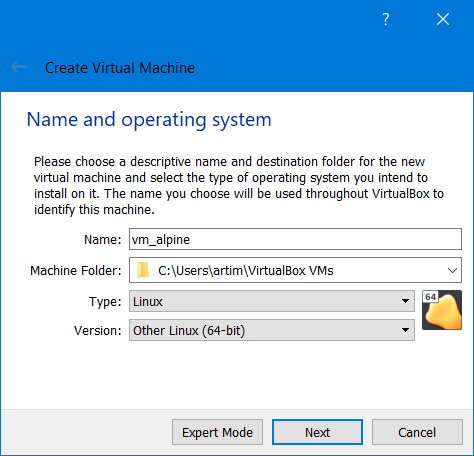
- Name the VM and select the OS type and version
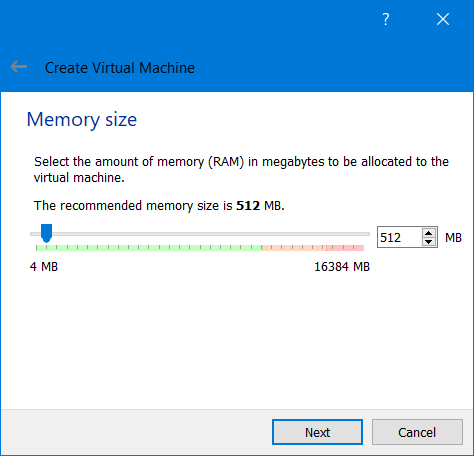
- Select the RAM sizes (e.g. 512MB)
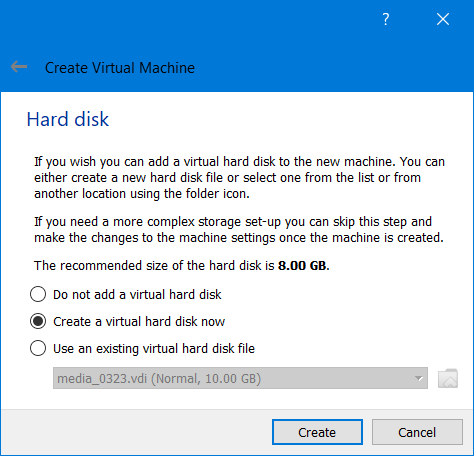
- Choose to create virtual disk now
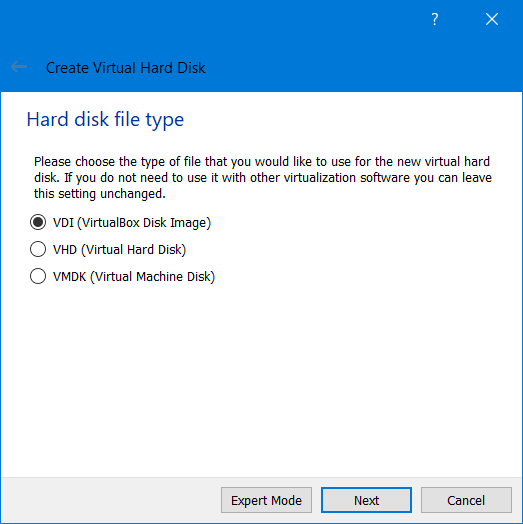
- Select Hard disk type (e.g. VDI)
- Select dynamically allocated storage
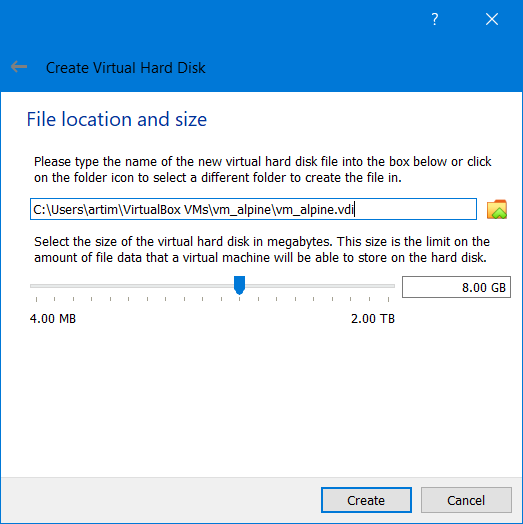
- Select file location and size (e.g. 8GB)
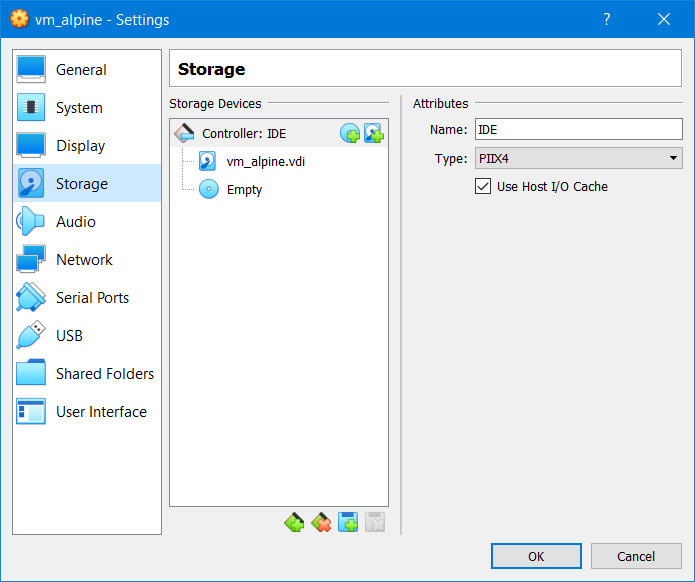
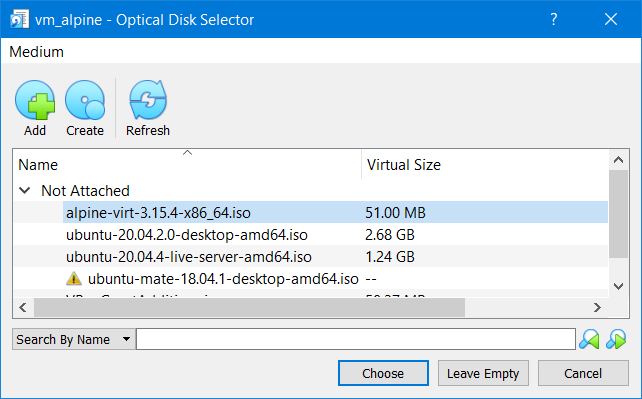
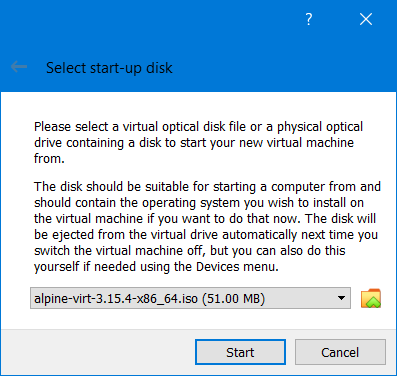
- Search for the location of the .iso file you downloaded earlier and add it the storage of the VM

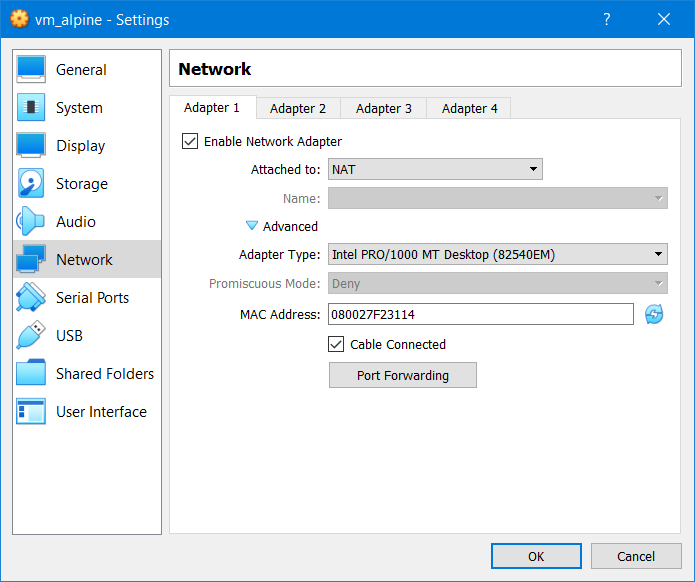
Networking Options:
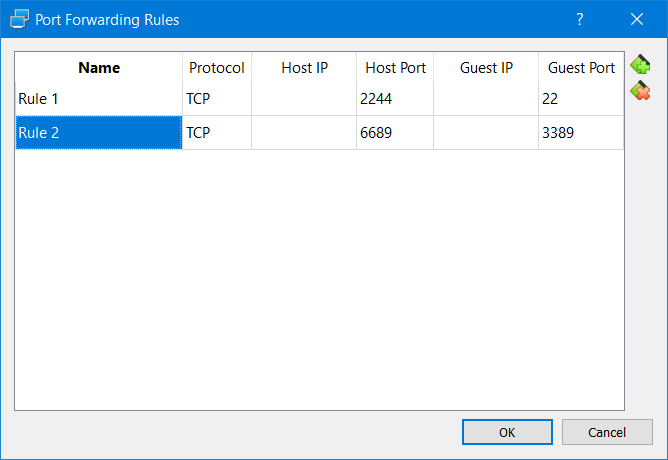
By default, VirtualBox will select the NAT to connect the VM to the host’s network. If you want to connect the VM from your computer using SSH to RDP, then you have to select port forwarding (to avoid conflict with other VMs). These options can be added before or after creating the VM.
Finally start the VM.
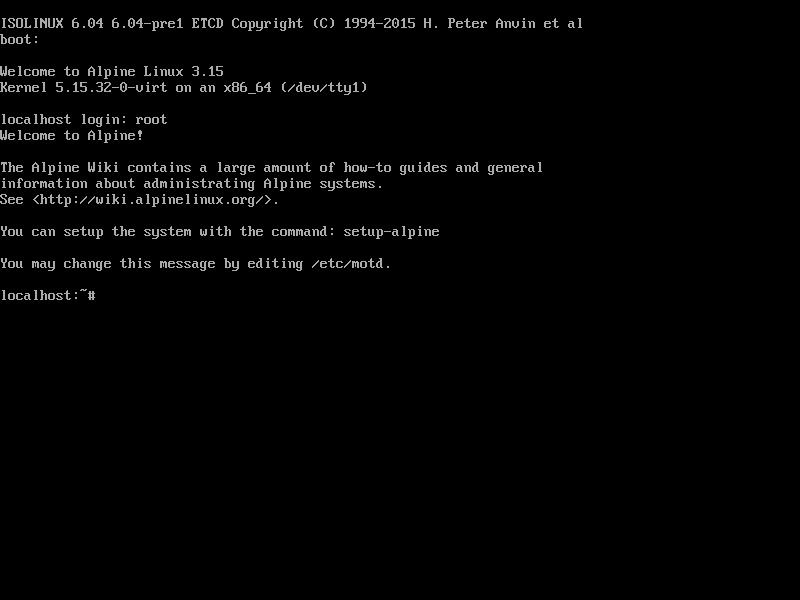
VM Setup
After the VM boots at login prompt, enter “root” to login as root user without password. immediately after use the following command to start the setup procedure:
# setup-alpineThe tool will present you with a series of options. Select the default option with the exception of the following:
- keyboard layout and variant: us and us
- hostname: alpine (or anything you like)
- root password:
- time zone: America/Halifax (select yours)
- mirror number: f (this option will take time, entry a number if your are in a hurry)
- ssh server: openssh
- which disk: sda
- how would like to use it: sys
- erase?: yes

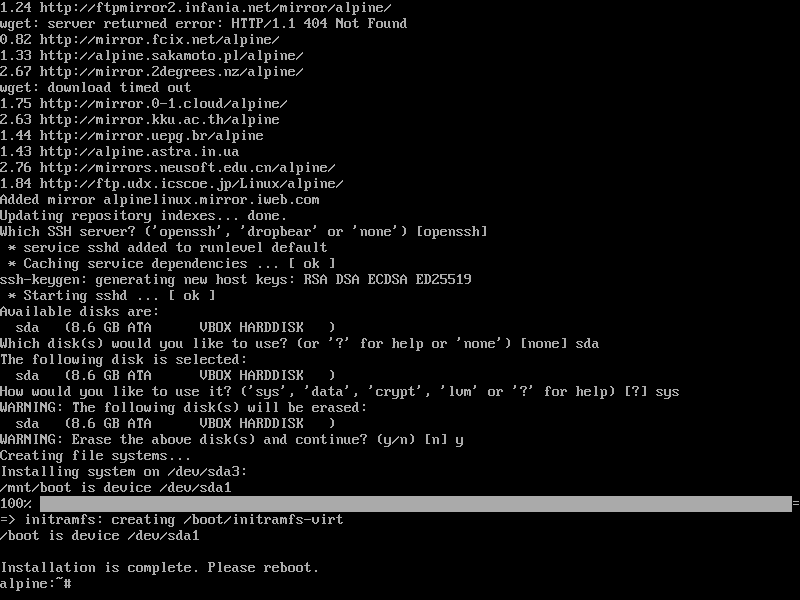
Once the setup is completed, eject the .iso cd then reboot (if you continue otherwise everything you do next will not be erased after reboot).
Update software
- To install software you will need to use apk. Use vi to edit the repositories file /etc/apk/repositories. Uncomment all lines except the testing repository.
- Update and upgrade existing packages
# apk update
# apk upgrade
Add user(s)
Add user(s) and grant them sudo privileges. Also add them to video and input groups (to be able to use GUI later).
# apk add sudo
# adduser <username>
password: <password>

# echo '%wheel ALL=(ALL) ALL' > /etc/sudoers.d/wheel
# adduser <username> wheel

# adduser <username> video
# adduser <username> input
Install a Desktop
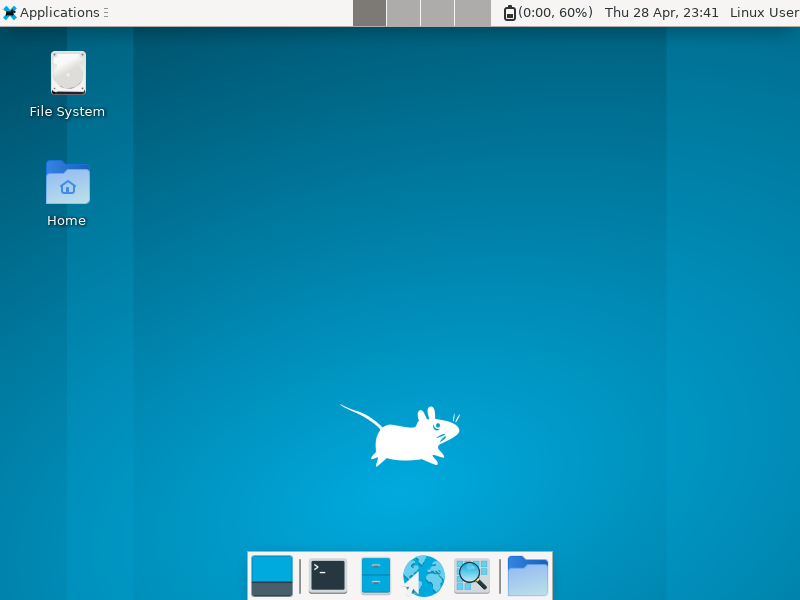
In this step, we add a graphical user interface (GUI) to the base VM. The Desktop choosen is xcfe.
To install, execute these commands as a root:
# setup-xorg-base
# apk update
# apk add xfce4 xfce4-terminal xfce4-screensaver lightdm-gtk-greeter dbus udev
# rc-update add dbus
# rc-update add udev
# rc-update add lightdm
# reboot
After the reboot, you will be presented with a login screen. Enter the password for the user you created earlier.
That is it!!

Conclusion
This document provides a step-by-step instructions on how to create a base Alpine Linux VM. You can use this VM for any project that requires a VM with small footprint. The size of the VM without GUI when exported to .ova (can be done by VirtualBox) is 90MB. With the GUI, the .ova file size is 228GB. This is, of course, without adding any additional software.