
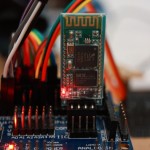
Bluetooth Module
The Arduino robot kit includes a Bluetooth-Serial Converter Module JY-MCU (mine says BT_BOARD V1.04). After some Google search, I found information about how to setup this module. See this for example, which also has a good link about how to change the default configuration of the module.
In this post, I am going to provide the procedure for setting up the Bluetooth module to control the robot remotely using an Android phone.
Setup
I decided to connect the Arduino’s TX and RX pins (pins 1 and 0). Since these are the same pins used by the Serial console, the serial monitor cannot at the same time with the BT module. Also the usb cable cannot be used to upload sketches while the BT module is plugged in. This is certainly an inconvenience but the trade off is acceptable for now.
Follow these steps to configure the BT module and pair it with an Android phone:
- Ensure that the robot is powered by the batteries
- Connect the robot to the PC using the USB cable and upload the sketch below. The sketch will rename the BT module and assign a passkey (use your own values)
- Unplug the USB cable
- Connect the BT module to the Sensor Shield on the Robot by plugging the module to 4-pin COM header
- Push the Reset button on Arduino to make sure the sketch is executed again while the BT is plugged in
- enable Bluetooth on your Android phone and scan devices. Enter the passkey to pair with the BT module
// This sketch configures a bluetooth module connected to pins 0 and 1
// Therefore, the usb cable has to be removed after uploading this program
// and the Arduino card must be powered by external source.

const int LED_PIN = 13;
int randomValue = 0;
// 1000 ms of no data transmission required before and after the escape sequence
int cmdDelay = 1000;
// Change these two paramaters to anything you want
int pin = 4444;
char* name = "MyRobot";

void setup()
{
  pinMode(LED_PIN, OUTPUT);
  // Turn on LED to signal programming start
  digitalWrite(LED_PIN, HIGH);
  Serial.begin(9600);
  delay(cmdDelay);
  Serial.print("AT");
  delay(cmdDelay);
  Serial.print("AT+PIN");
  Serial.print(pin);
  delay(cmdDelay);
  Serial.print("AT+NAME");
  Serial.print(name);
  delay(cmdDelay);
  // Turn off LED to signal programming end
  digitalWrite(LED_PIN, LOW);
}

// This part is not doing anything useful
void loop() {
    if (Serial.available()) {
        Serial.read();
        randomValue = random(10,20);
        Serial.println(randomValue);
    }
}
At this point, the configuration of the BT module is complete.
Arduino meets Android
To turn the BT module into something useful, I found this neat Toolkit. Using this toolkit app and the associated plug-ins, you can exchange data between the Android phone and the robot. Follow these steps to proceed with a simple application that exchanges random numbers between Arduino and the Android phone:
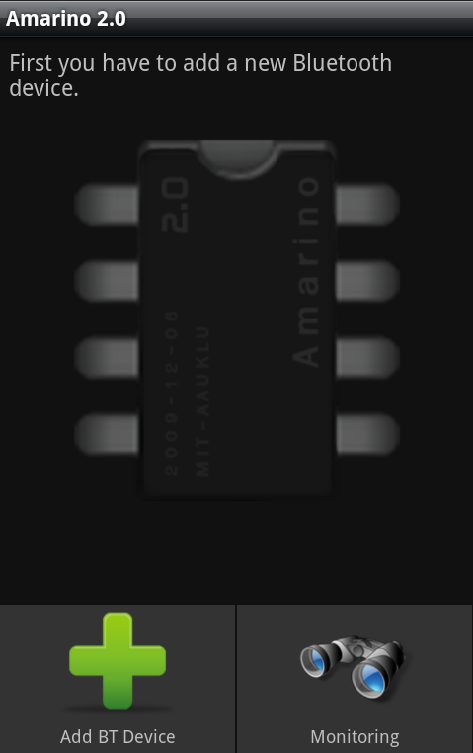
- Download and install Amarino 2.0 and Amarino Plug-in Bundle in the phone from the link above
- Download and install MeetAndroid library and add it to your Arduino libraries
- From the examples in the MeetAndroid library, upload example “Test” after changing the baude rate to 9600 (Remember to remove the BT module before connecting the USB cable then connect it again after removing the USB cable)
- Make sure that the BT is still paired with your phone
- Open the Amarino app and press the “Add BT Device”. Your BT module should appear shortly
- Press on the module name then “Connect”. Now your phone should connected to th BT module
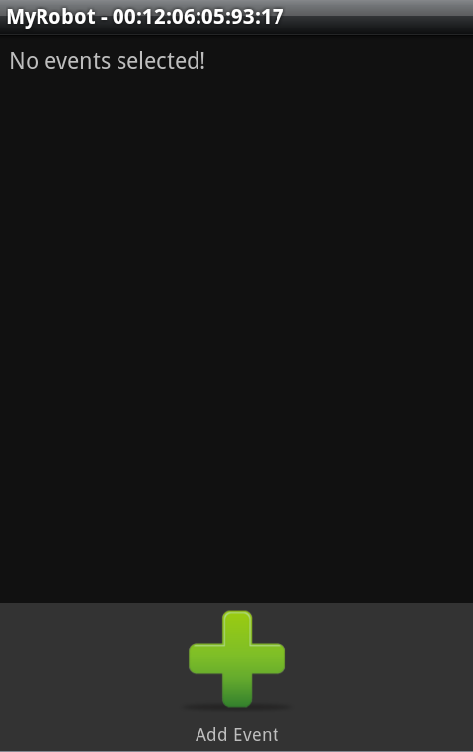
- Long press the name of your BT module on the main screen until the menu appear, select “Show Events”
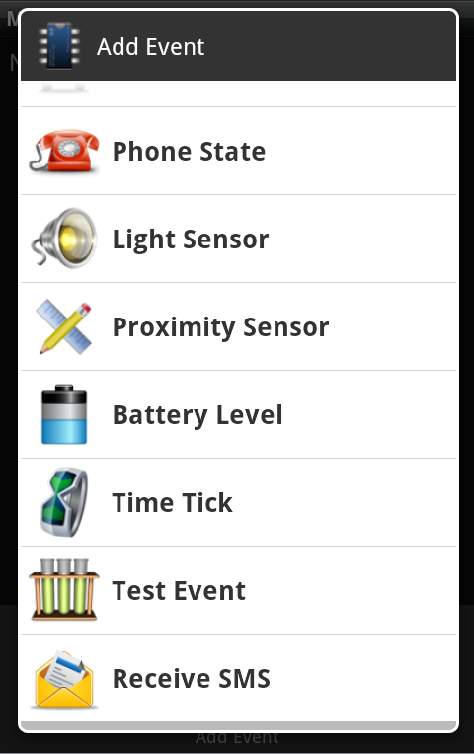
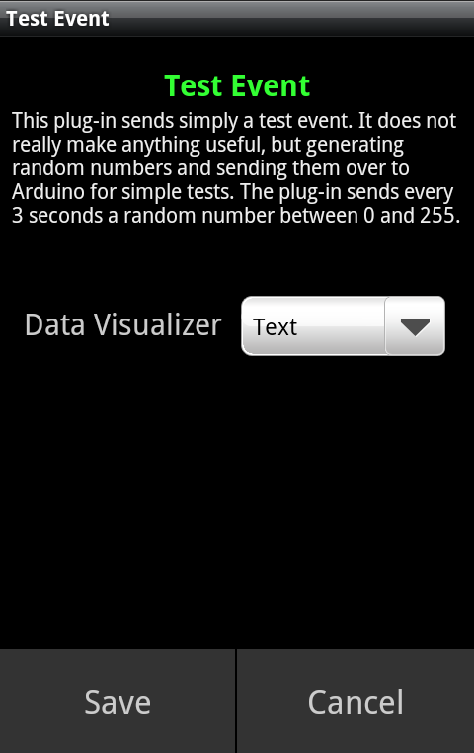
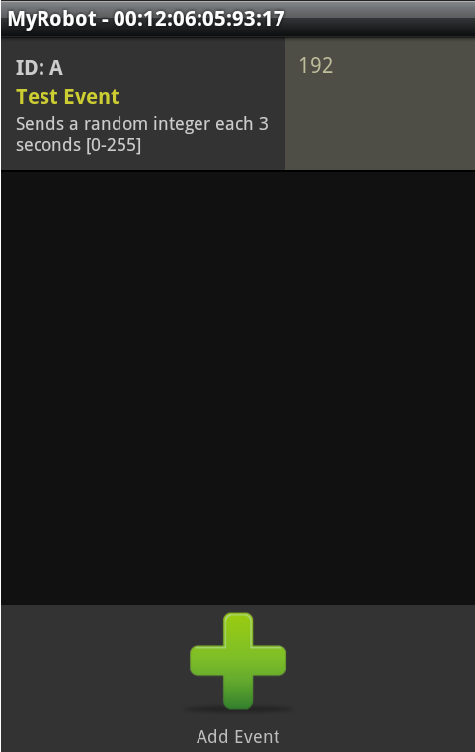
- Press “Add Event” and select “Test Event” then press “Save”. This event will send random numbers to the Arduino
- If you don’t see random numbers appearing, long press the event and select “Force Enable”
- Go back to the main screen and press “Monitoring”. Watch the number exchange between the phone and Arduino. Also, the LED connected to pin 13 on the Arduino should be blinking slowly
-
- Bluetooth Module


In the next post I will take this app a step further by translating Android events into navigation commands for the robot.
Pingback: Arduino robot kit – Bluetooth Remote Control ← Ad Hoc Node
Oh ok, i will be wait but i try to make something by my self 😉
Andrew,
If you manged to follow all the steps and get the results shown in the screen captures, then you are fine. The next post will show how to turn your phone into a remote control for the robot. But you have to wait until I find some free time to write it 🙂
this sketchwork fine but i cant make any other connection type and send receiv information…. 🙁